Creating a React package and publishing it on npm (explained)

So you have just created a nice React package. Let’s make it available to the world as an npm package.
I’m assuming that you have Node 8.10.0 or later on your local development machine, although not required on the server. And that you know some basics on JavaScript and React.
1. Create a new React app using create-react-app
npx create-react-app my-unique-pkg-name
Note that I have just called the npx command (not npm). npx is a package runner which executes Node packages without installing them. npx comes with npm 5.2+ and higher.
2. Delete all files inside src/
So we can start as minimal as possible.
3. Create a new index.js file inside src/
This index file is not part of the React package per se. But it is going to be useful as a usage example of it. I am going to resume this topic in a few lines.
import React from 'react';
import ReactDOM from 'react-dom';

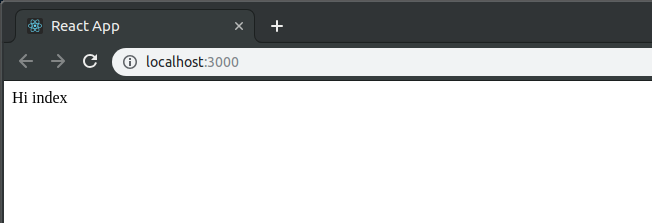
ReactDOM.render(<div>Hi index</div>, document.querySelector("#root"));
Baby steps! At this point, you should see something on the browser by running:
npm start

4. Create a component
Create a new folder src/lib. That is where all your React package code is going to live. Inside this folder, create a React component:
import React from 'react';

const UkuleleChord = () => {
    return <div>I'm a Ukulele Chord</div>
};

export default UkuleleChord;
5. Use an index.js file to group exports
As you create multiple files in your package, it is a common best practice to have an index.js file as a way to create explicit public interfaces.
I prefer a file to contain only one export. That’s why I usually use default exports. Thus I can use an index.js to group functions and expose them as named exports.
Create a new file index.js inside src/lib:
import UkuleleChord from './UkuleleChord';
export { UkuleleChord };
6. Update the usage example
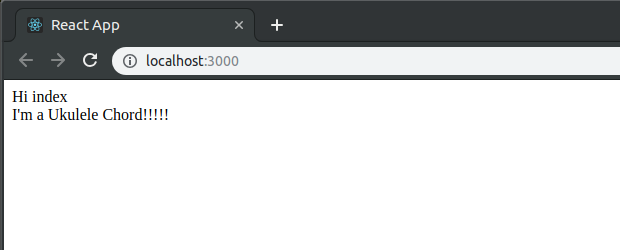
Import the component you have just created and check if it is working.
import React from 'react';
import ReactDOM from 'react-dom';

import { UkuleleChord } from "./lib";

ReactDOM.render(
    <div>Hi index
        <UkuleleChord/>
    </div>,
    document.querySelector("#root")
);
7. Install Babel
Babel is a JavaScript transpiler. It translates code from modern JavaScript to extensively-supported old versions so our program can safely run on older browsers. More about Babel installation.
npm install --save-dev @babel/core @babel/cli
What does @ stands for?
Packages whose name is preceded by the symbol @ are called scoped packages. Scopes are a way of grouping related packages together and also affect a few things about the way npm treats the package.
8. Create the .babelrc file
{
  "presets": [["react-app"]]
}
Babel’s presets works as pre-defined array of Babel plugins. The react-app is defined by babel-preset-react-app, a package that includes the Babel preset used by Create React App.
9. Change the default build task
Replace the default build task inside package.json with the following:
"build": "rm -rf dist && NODE_ENV=production babel src/lib --out-dir dist --copy-files --ignore __tests__,spec.js,test.js,__snapshots__"The --copy-files --ignore ... section of the build task is optional so far. It will make more sense as you implement automatic testing (recommended).
Why should I replace the default build task?
The Create React App’s default build task (see the complete code here) pack more stuffs than we need until now. See for yourself.
The dist folder after running the default build task:
.
├── asset-manifest.json
├── favicon.ico
├── index.html
├── manifest.json
├── precache-manifest.2c65f44cf26f9872347e77194a34367c.js
├── service-worker.js
└── static
    └── js
        ├── 2.35781443.chunk.js
        ├── 2.35781443.chunk.js.map
        ├── main.857353e4.chunk.js
        ├── main.857353e4.chunk.js.map
        ├── runtime~main.fdfcfda2.js
        └── runtime~main.fdfcfda2.js.map
After running the suggested build task:
.
├── index.js
└── UkuleleChord.js
Leaner. On the flip side, the files are not being minified (which reduces file size and improves performance) nor adding hashes to it’s names (which may force dependents to update the assets). I recommend you to try to add these and other features.
10. Publish the package to the npm registry
Add the following lines to the package.json
"main": "dist/index.js",
"module": "dist/index.js",
"files": [
  "dist",
  "README.md"
],
"repository": {
  "type": "git",
  "url": "https://my-repository"
}
Create you npm account by visiting https://www.npmjs.com/signup
Sign in via command-line interface (see all CLI commands):
$ npm adduser
Respond to prompts:
Username: yourusername
Password:
Email: (this IS public) yourpublicemail@example.com
Logged in as yourusername on https://registry.npmjs.org/.
Check if you are logged in:
$ npm whoami
yourusername
Publish the package to the npm registry:
$ npm publish
npm notice
npm notice 📦 my-unique-pkg-name@0.1.0
npm notice === Tarball Contents ===
npm notice 869B  package.json
npm notice 2.9kB README.md
npm notice 67B   dist/index.js
npm notice 176B  dist/UkuleleChord.js
npm notice === Tarball Details ===
npm notice name:          my-unique-pkg-name-joston
npm notice version:       0.1.0
npm notice package size:  1.9 kB
npm notice unpacked size: 4.0 kB
npm notice shasum:        8d1bbe4469f8f1d22950240fc4edf98250e5cc34
npm notice integrity:     sha512-7U4nIDmtZ9E5B[...]LNr56439metIQ==
npm notice total files:   4
npm notice
+ my-unique-pkg-name@0.1.0
Done! Let me know if you have any questions or comments.
Important basic notes on npm registry
- The name of your package have to be globally unique
- Understanding semantic versioning is vital to npm registry
- It is going to ease the deployment of new versions and prevent users from unintended updates